

How To Repair The Bottom Of A Garage Door
Your garage door is probably the largest opening to any indoor area in your home. That makes keeping information technology weatherproof essential.
The seal at the lesser of the door is the one that experiences nigh clothing and tear. Heat, rain, snow, water ice or even salt on the ground can all cause the rubber to deteriorate over time. If that happens, the contents of your garage go vulnerable also.
But don't worry – fixing the problem isn't as difficult as you might think. Nosotros're going to prove y'all how to supersede a garage door seal in 8 piece of cake steps.
So allow's become started!
Tools for replacing garage door seal
- New door seal
- Measuring tape
- Flathead screwdriver
- Phillips head screwdriver
- Sweeping brush
- Bar of soap, wax candle or silicone spray
- Utility knife
- Someone to help
If you have a wooden garage door:
- Wood sealer
- Hammer
- Nails
- Aluminum runway and caulk (optional – only if you purchase these, you won't demand nails)
How to supervene upon a garage door seal
Step ane: Buy the correct door seal for the job
Before you head to the shops to buy your new door seal, y'all'll need to measure your garage door. Nosotros're going to focus here on changing the bottom seal. For this, you'll need to mensurate the width and thickness of the door. If yous need to supercede the seal all the way around, mensurate the height too.
At present consider what kind of door seal to buy. Near door seals are made of rubber, and these will give a reasonable service in virtually climates. But if yous alive in an area decumbent to cold winters, consider a silicone seal instead. These are designed to withstand low temperatures and volition concluding far longer.
Pro tip: Write downward each measurement equally y'all go, then repeat the process to cheque you lot oasis't fabricated any mistakes. You don't want to go through the whole installation process earlier discovering your new seal doesn't fit!
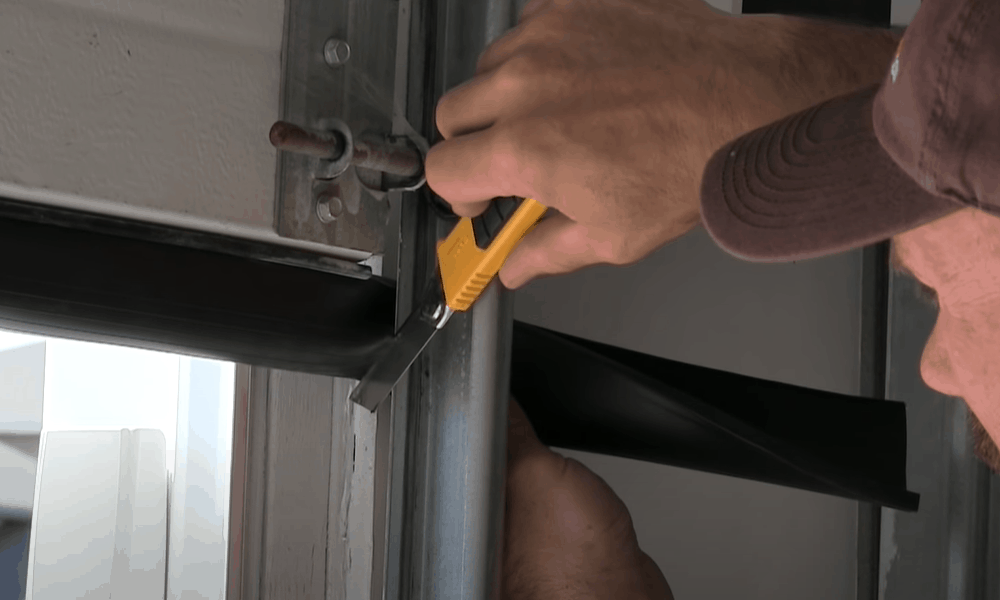
Footstep 2: Check for screws belongings the existing door seal in place
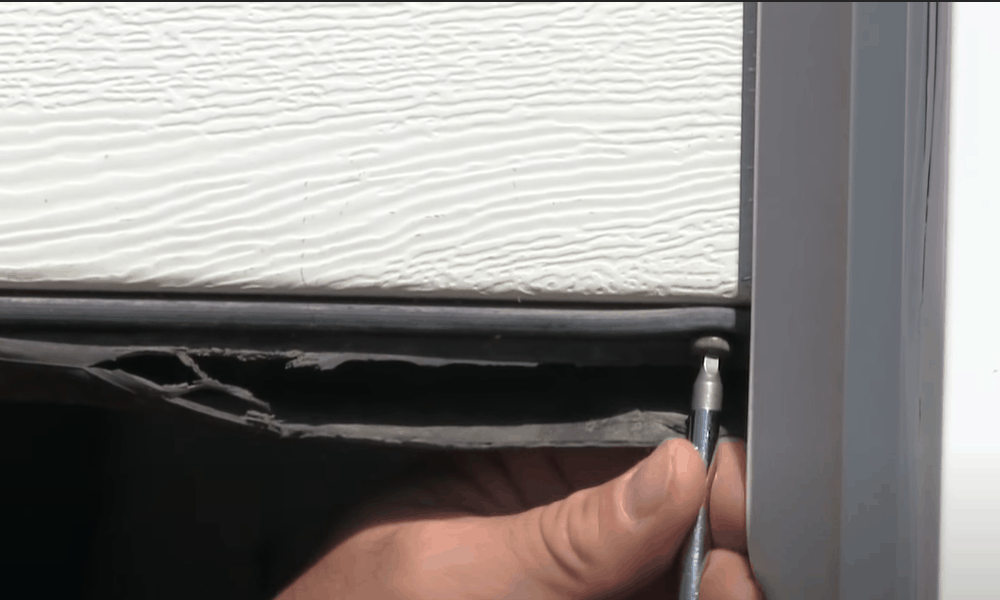
Whether you have a metal or wooden garage door, you may find the existing lesser seal is screwed into place. If it is, there'll unremarkably be just ane screw at either end.
Take a shut look at the ends of the seal. If you lot notice screws, utilize the advisable screwdriver to remove them. The screws are normally quite short, and then this won't accept long to do.
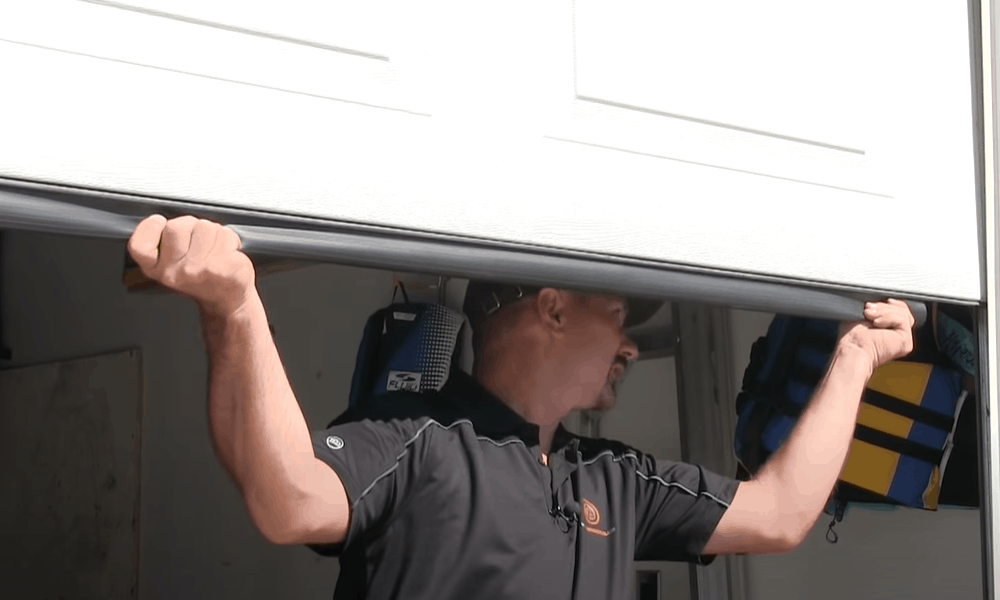
Stride 3: Remove the old door seal

The process for removing the onetime door seal volition depend on whether your garage door has a bottom rails. Metal garage doors usually take a track, whilst wooden ones oftentimes don't.
If your garage door doesn't have a track, your existing door seal will probably have been nailed in identify. If that's the instance, accept a house grip at one end of the seal, and pull it free. With a abrupt tug, the nails should come up straight out. If there are whatsoever stubborn ones, prise them free with your hammer.
If you have a door with a track, you lot may be able to pull very degraded seals free. In most cases, though, you'll need to slide the seal along the runway and out the end. Depending on what condition information technology'southward in, you may find you demand to remove it in several fragments.
If yous find the seal gets stuck, use your flathead screwdriver to bend the track and assistance information technology slide along.
Pro tip: You can requite yourself more room to work by releasing the lesser rollers on your garage door. Use pliers to flare open up the side rails beneath each roller. Then lower the door and then the roller is level with the widened section of the track. Place the end of a flathead screwdriver backside the roller and lever information technology complimentary.
Step 4: Fix the door for its new seal
Once the former seal has gone, make clean out whatever remnants that are sticking to the door.
If your old seal was nailed to a wooden garage door, removing it will have left you with nail holes. Fill up these in with wood filler.
If you lot accept a track already, this is the time to clean it out. Take your brush and requite information technology a good sweep. Removing dirt and debris will make it much easier to install the new seal.
If your door doesn't already have an aluminum track, you may want to consider purchasing and installing one. They aren't too expensive. And more importantly, there'll be no smash holes to fill side by side fourth dimension y'all have to replace your door seal.
Once you've bought your track, cut information technology to the width of your garage door. Then cutting notches to fit around the rollers at the side of the door. Place a thick dollop of caulk on the leading edge of the door. Then attach the track set up-up. Y'all're now ready to install your new seal without nails.
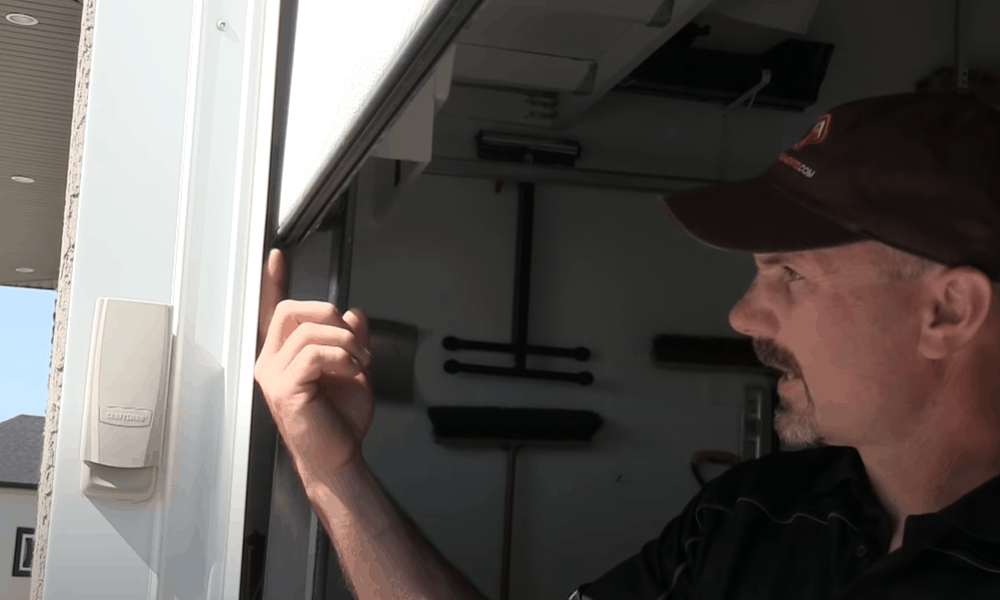
Step 5: Gear up your piece of work station
Think: seals need to be tight in guild to keep out weather condition and debris. That ways you lot're probably going to need to spend a bit of time on this office of the process. Go yourself a coffee before yous offset!
Make sure the door is at a comfy top to work at. Having the lower edge just in a higher place middle level will hateful yous're able to see what you lot're doing more easily. And you won't have to accomplish right above your head to maneuver the door seal into identify.
Step half-dozen: Begin to secure your new seal
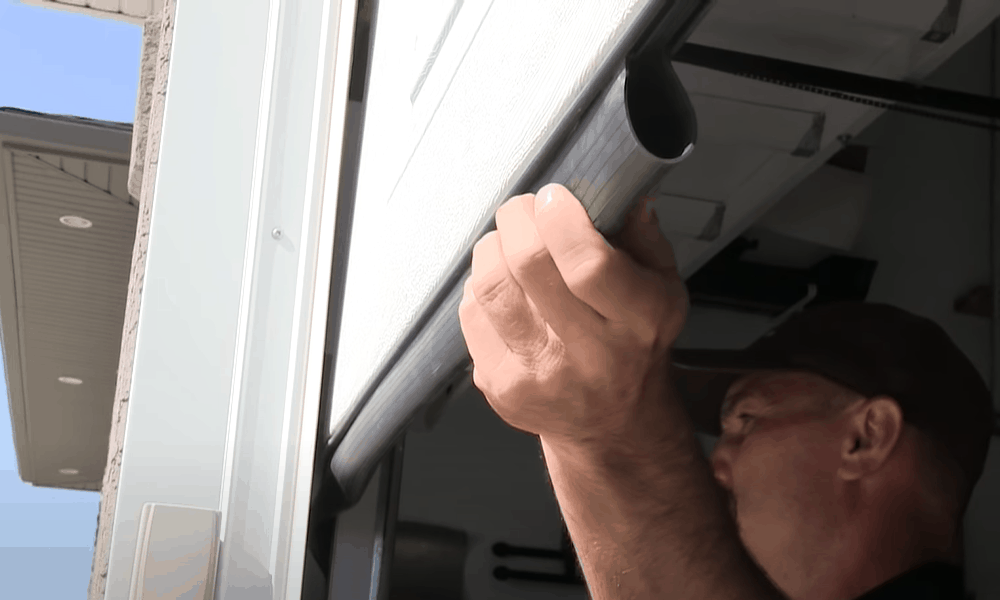
If y'all don't have a track, attaching the new seal simply means hammering it into identify. You'll need to take your time over this. The seal needs to be installed in exactly the correct position, and to be level all the manner along the door.
If yous accept a track, take a good look at it. In that location'll be 2 grooves running forth information technology. These are where the t-shaped sections of the rubber seal volition become.
Lubricate the end of the track to help feed through the safety seal. Silicone spray works very well for this. Alternatively, you can rub the track with a bar of lather or the end of a wax candle.
Now fold the seal widthways so that you lot can insert the two t-shaped pieces into the end of the rails. Fold the end of the seal you're feeding in with one paw. Use your other hand to concur the rest of the seal level. If it hangs down, it will pull on the section y'all're trying to feed onto the rails.
Keep sliding the seal beyond. Keep property the front border in i hand whilst belongings the balance of the seal level with the other. When the front border is too far forth the door for y'all to keep belongings onto the unthreaded portion, stop. This is where your friend comes in!
Pro tip: If your old seal was screwed in place, you may detect the finish section of the track is squashed. That will make it hard to feed in the new seal. Use a flathead screwdriver or the bract of a knife to open up it up once more.
Footstep 7: Finish sliding in the balance of the seal
Get your friend to hold the portion of the seal that hasn't yet been threaded into the rail. They should concur it level with the track and folded widthways. This will allow the t-shaped sections to go on sliding into the track every bit you pull it along the door.
You may find that when you get to the far end, the track needs some attention. If the old seal was screwed into place, y'all'll demand to open out the squashed track again. The procedure is exactly the same as for the other end of the track. Use your flathead screwdriver or the end of a knife to open information technology back out.
Step 8: Trim off whatsoever excess seal
When the seal is all the style across your door, add a spiral at either finish to continue it secure.
Now utilize your utility pocketknife to trim off any extra safe. You can trim it so that it's flush with the edge of the door. Alternatively, trim it flush with the side of the opening. The choice is yours.
Yous've finished. Take a step dorsum and admire your new door seal!
Extra tips
If yous can replace your door seal on a warm day, the rubber will be more than pliable. That will make the job much easier. If that'due south not an option, soak the seal in warm, soapy water before installation. You'll detect it slides into place more easily.
If your door seal isn't lying completely flat all forth the width of your opening, don't worry. You tin can buy something called cream rope. This comes in unlike sizes and can exist threaded along inside the bottom of the seal. It will make the seal more rigid so that it doesn't crease.
Ready for your new door seal?
We promise you've enjoyed our guide to how to supervene upon a garage door seal! It'southward not a complicated job, merely get someone to help yous if you lot tin can. It's much easier to maneuver the seal with an extra pair of hands.
If this is a project you've already carried out, why not comment and tell the states how it went? Nosotros'd honey to hear from you!

Source: https://www.wcmanet.org/garage-door-seal-replacement/
Posted by: hodgesrepia1985.blogspot.com
0 Response to "How To Repair The Bottom Of A Garage Door"
Post a Comment